Thank you for your patience while we retrieve your images.
Romeo and Juliet
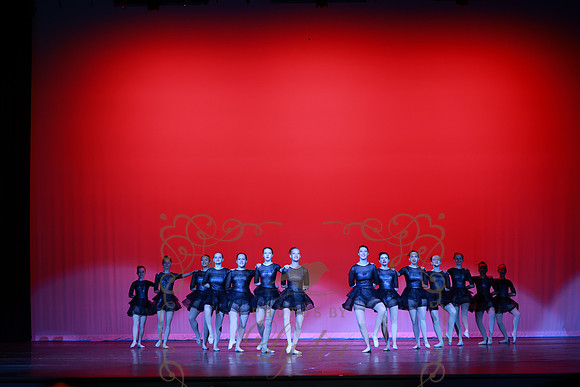
Romeo & Juliet (9)
© Photos by Lydia